Is your YouTube video lacking sound? Believe it or not, it is a common problem faced by YouTube users worldwide. In this article, we will discuss the various solutions to fix no sound on YouTube videos and introduce a Video repair tool. In addition, we will tell you about a powerful tool to help you fix the issues. But first, some easy manual solutions.
Table of Contents
Solutions to fix no sound on YouTube
Try fixing no sound on the YouTube video with some of the following methods. They are easy and don’t need any technical expertise.
Solution 1: Make sure the volume is not muted
Check system volume. Is it muted? A turned-off volume is a common practice. People often turn off their system’s volume. This results in no sound on the YouTube videos. Also, make sure your system has sources to play the sound. You can fix this issue in two simple ways:
- Look for the mute button on your system. Hold and unmute it.
- Use the volume increase button to unmute.
Solution 2: See if you have not muted the video
People often forget unmuting after watching a video on mute. This makes all future videos soundless until unmuted. Fix it like this:
- Click on the speaker icon of Youtube’s video page. This will unmute it and the future videos automatically.
- Press the ‘M’ button on the keyboard, if you like using the keyboard
Solution 3: Use incognito window
Sound-related issues are often due to system configurations. At the same time, a browser problem such as too many cache files can also make your video have no sound. To fix this problem, open the incognito window of your system. It does not take into consideration your browsing history or the files cached. Now fix it in the following manner:
- For Google Chrome users. On the top right-hand corner, click on the three dots. Select “New incognito window.” Then open YouTube and play.
- For Firefox users. Look for three horizontal lines on the top right corner and click. Select option “New Private Window”.
Solution 4: Try a different browser
If the incognito window does not resolve your issue, switch to another browser. Maybe your browser is having an issue in its core stopping your video from playing. For example, if you are using Firefox, switch to Chrome and vice versa. See if the video plays effortlessly. Then it would prove that your previous browser was having an issue playing the video.
Solution 5: Update your Audio Drivers
If your machine has no sound issue or is the Youtube muted, then the culprit could be your audio drivers. Ask yourself, “when did you update your audio drivers last?” Don’t forget; these audio drivers make your machine play the sound. If they become obsolete, your system won’t play any sound, leave alone YouTube video. To update it, follow these steps:
- Use Cortana search
- Open Device Manager
- Hover on “Sound, video and game controllers.” It expands up.
- Search for your sound card and right-click. Select “Update Driver”.
You will have an option to let Cortana find the drivers automatically, or you will provide the updated files. Select your option. Lastly, reboot your machine after the drivers are updated.
Solution 6: Restart your mobile device or machine
If nothing of the above works, then try this. In most cases, restarting the smartphone of the computer fixes the problem.
Solution 7: Check the headphones and the Bluetooth
Yet another method to resolve the no sound on YouTube issue is to switch Bluetooth on and off. You can do it by performing the desired in the settings. And it is also essential to check your headphones connection.
Solution 8: Fix audio troubleshooting
If you are using Windows 10, you may be aware of troubleshooting. One of the troubleshooters can help you identify the issues with the sound on your machine. Then, use it to find and fix the issue.
- Go to settings. Use Cortana search. Open it.
- Click “Update and Security”
- From the left sidebar, select “Troubleshoot.”
- On the right-hand side, scroll down. Click on “Playing Audio”. Select “Run the troubleshooter.”
- Wait until the issue is detected and fixed.
Repair downloaded video with Wondershare Repairit
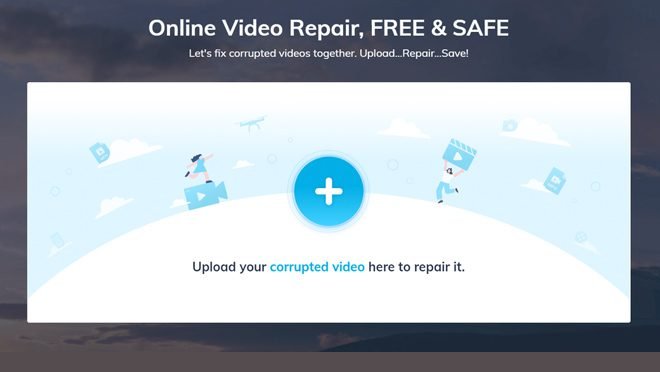
The Repairit online website
The Wondershare Repairit website has a simple easy to use user interface and provides all the information clearly. Remember it can help you repair various video types such as
MOV, M4V, MP4, MKV, M2TS, 3GP, MTS, FLV and AVI.
Have a look at it

How to repair downloaded YouTube video online
Try Wondershare Repairit Online Video Repair Tool. You can fix YouTube videos for free online, but make sure they are less than 200MB for free repair on Repairit. The tool is easy to use. Open it on your browser. Upload the video and sit back while your video gets repaired magically.
How to repair local damaged videos
Wondershare Repairit can help you repair a corrupted video on Mac as well as Windows. Repairit is a wonderful tool that helps in repairing damaged, corrupted, or broken video files quickly.
Step 1: Launch Wondershare Repairit
On Windows
Double click ‘Wondershare Repairit’ icon on the desktop to make it run on Windows.
If you do not have the software on your desktop. Search it in the windows search box. Then click and download it to use.
On Mac
On the Mac desktop, double click on ‘Wondershare Repairit.’ Not having it? Do this: Finder-Applications-Wondershare Repairit. Then double click on the software.
Step 2: Repair videos on Windows
In the step, follow three things: Add, Repair, Save.
- Add the video
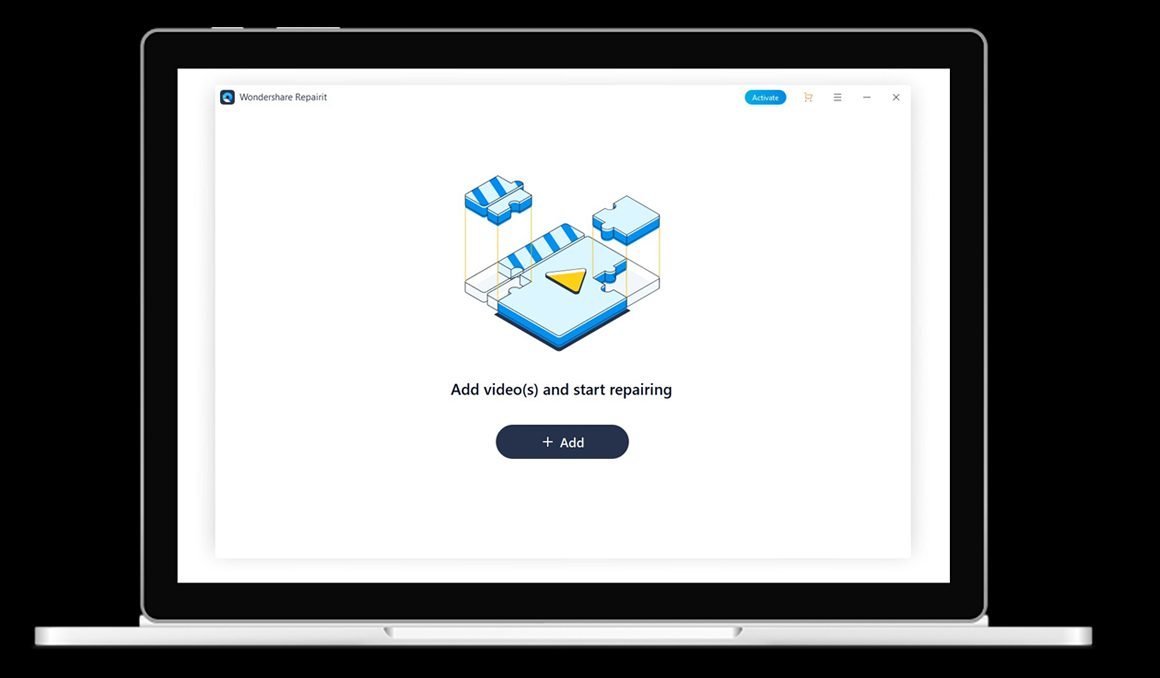
Begin with adding the corrupted video file. Then you may click on Add (+) button or in the middle area saying ‘Add video and start repairing.’


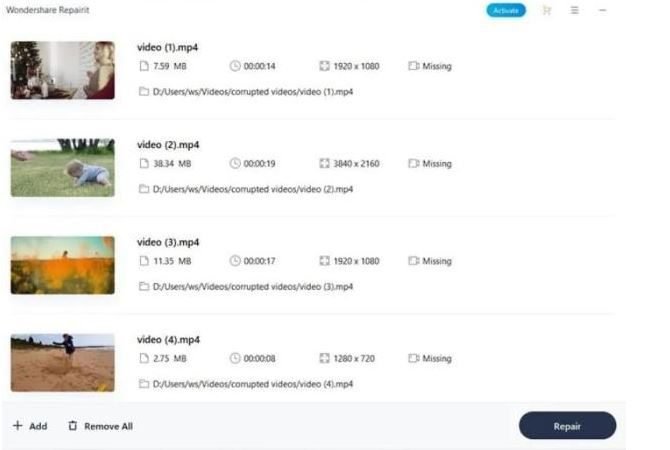
Once added, the interface displays comprehensive information about the video.
- Repair the video
Click on the ‘Repair’ button. After the repair is complete, a window appears. It reads as ‘Preview and Save the videos now’. Finally, click on ‘OK.’


- Preview the video
Click on the ‘Preview button’. Scan the video for its genuineness before you proceed to save it.
If it meets your desired requirements, click on the ‘Save’ button. Wait for some time before you save these videos.
- Select Advanced Repair
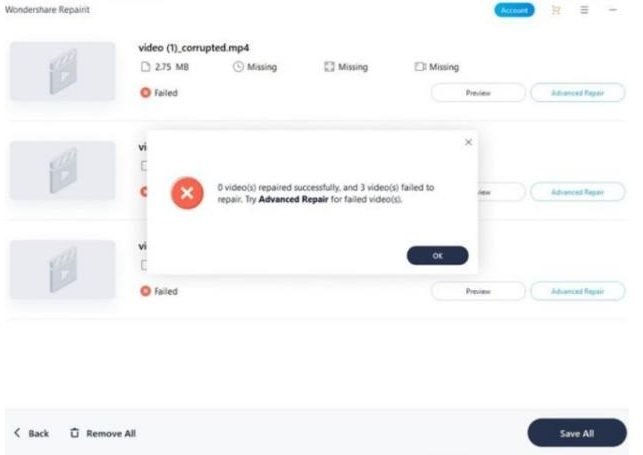
If your video is severely damaged and the repair process does not deliver the desired output. Proceed further with ‘Advanced Repair’.


Click on the folder icon. Then add the sample video for repairing. Repairit will scan the corrupted video and see if it is available for Advanced repair.
Click on the Repair button. The process takes some time.
Step 3. Save Video
Click on the ‘Save’ button. Choose your saving path. You have two choices. Click the “Save all” button; the repaired video saves in the E disk. Another method is to click the “New Folder” button and the “Save all” button. The repaired video is saved in the New Folder. Name the folder as you like.


On Mac
Irrespective of the device, Windows, or Mac, the video repairing steps are the same.
- Add the Video
- Repair the Video
- Save the Video
Are you looking for more help with your videos? Wondershare Repairit can help you with several other video corruption issues such as blurry, truncated, or frozen videos, etc. All it needs is a few minutes, and the repair is done in three steps. So, no matter what format your video file is in or the size, Wondershare Repairit can work wonders. Use it.
Do let us know what helped you fix the no sound on YouTube issue.